
BTS: Painting Leather
Of all the questions I get asked, the most pertain to hand-painted leather. I've said before that people can be precious about their process. Like hidden-in-the-basement-retina-encoded-lock precious. That can make it difficult for people to get the insight they need when they're trying to learn.
However, I've never been like that, so I'm gonna share with you my no holds barred process for painting leather pieces.
Oh, and here's a heads-up I use solely Angelus products so be sure to check them out!
Know your leather
The leather you're working with will make a difference. The treatment will determine how you have to prepare it. Is it unfinished, waxed or sealed?
I'm no leather expert. I'm still having to do a lot of reading when it comes to the various terminologies relating to cut and finish but it is really important to know what you're working with. You can always look up the necessary know-how later if you know the type of your raw material. If you're working with existing pieces like shoes or a jacket, this can be easier. Shoes tend to be glazed in some way to waterproof them, and jackets are often treated as well. Regardless, the starting point is always the same.
Clean it
The cleaner you use will largely rely on the leather you're working with. As I nearly always work with a finished leather (like shoes or a jacket) I usually use a blue foam cleaner from Angelus to clean the piece I'm working on. It is gentle but persistent in removing any marks or blemishes.
Strip it
When it's clean, the area to be painted needs to be stripped of any protective coating that may have been used to finish it. This is why you need to know what you're working with. I use an Angelus leather deglazer to remove any sealant which would prevent the paint from permeating the leather.
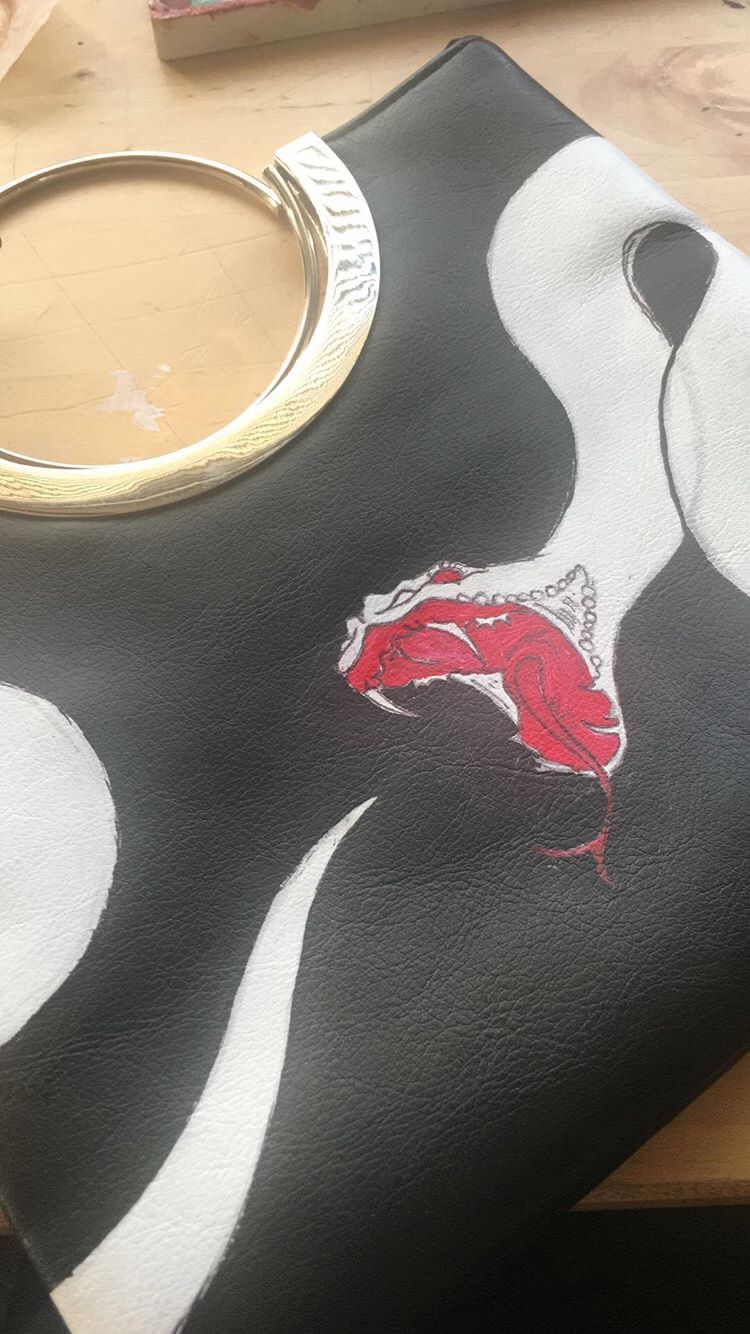
Paint it
Now we get to painting! If you want to paint lighter colours on black leather, I recommend priming the area first. With Angelus you need to work in thin layers and allow time for the layers to dry. My early forays into leather paint were a little frustrating as I tried to use it as I would regular acrylics. I ended up with quite a lumpy, bitty finish where new paint had interacted with yet-to-dry layers and pulled parts of them from the surface. It cheapens the results.
Drawing designs
On primed areas I draw out designs roughly in pencil so the pencil marks can be cleaned with the foam cleaner if they're off. I did used to go over designs with a black sharpie when I was happy with the placement - however - if you are using light colours it will show through. I now only do this if the final design will be black. I'll also happily use red sharpie under red paint but otherwise, I try to leave the design in pencil and go in as quickly as possible with paint to block out the necessary areas. It cuts out a step and avoids the possibility of unwanted lines showing through the paint.
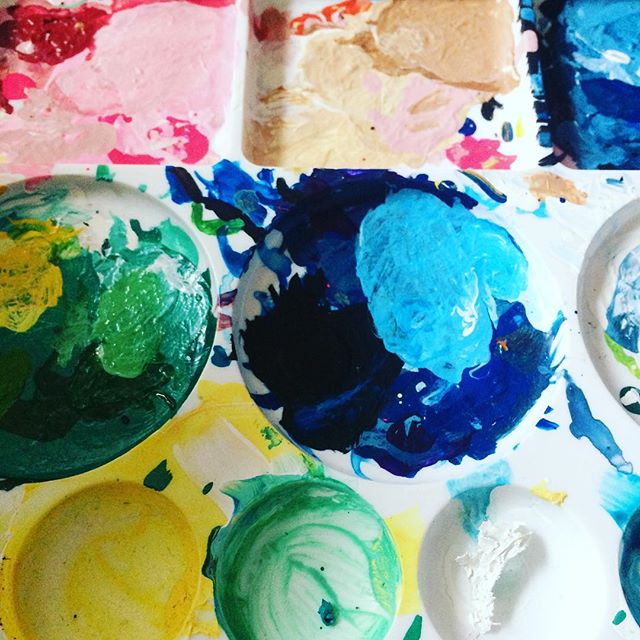
Mixing paint
Mix paint in advance in a palette or pot, not on the thing you're working on. As I said, you need to work in thin layers and these start to dry fairly quickly, if you are trying to mix on the surface you're working on, you're going to get uneven tones and uneven texture. Mix first, paint second.

Preserving paint
I have started saving my mixed paints in small air tight containers (like old angelus bottles that have been washed out) and recommend doing the same for best results. However, I used to work from a palette and when you're working for long periods mixes dry out. You can reactivate them with a tiny bit of water but be cognisiant of the fact that this could result in an uneven finish. The dry paint has quite a plasticy finish and adding a drop of water might save some of the mix but small particles of dry paint can get mixed up in it and create a grainy texture.
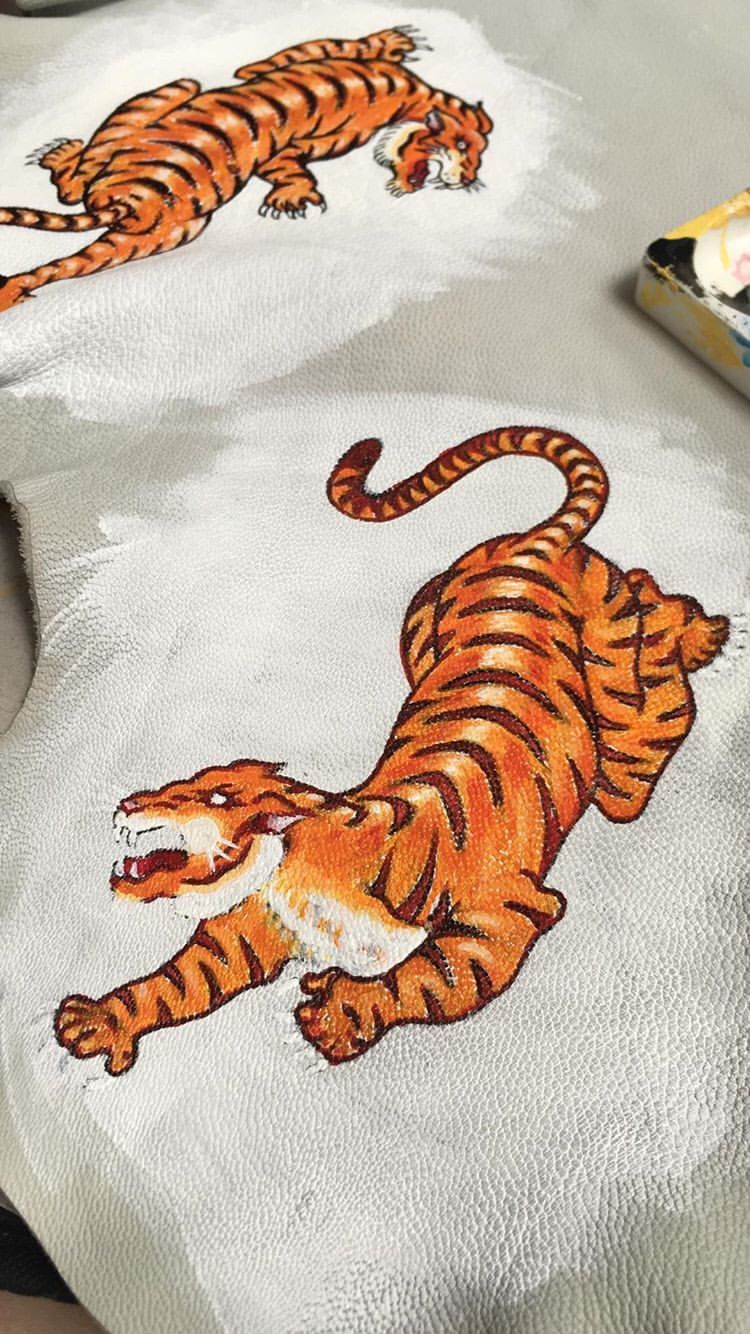
Layering paint
Thin. Even layers. Leave them to dry. Go back, add more thin even layers. This is the only way to get a smooth flexible finish. Please learn from my mistakes, thick layers lead to cracking and unpleasant textures. Thin! Even! Layers! Only! Please <3.
Sealing
When I have painted my design and it's thoroughly dry, I want to seal it up and preserve the results for years to come. I use a matte finish from Angelus again in thin even layers to get the best coverage. If you apply too much, too quickly you may notice it starts pooling. I usually use 3-4 layers to ensure the best finish. I will sometimes also add a water proof or repellent layer for good measure.
After-care
Sealed designs can be wiped clean with minimal fuss!
There we go! That's how I work. I've tried to be as transparent as possible with this but please let me know if you need more details! Just drop me a line or say hi on Instagram!
Much love,
Tiffany